How to get good seats at a college basketball game comes down to two jobs: getting a ticket at all, and knowing which section to target once you have one. Most fans fumble the first and never attempt the second. Pick one priority, buy from the official or a verified source as early as the release schedule allows, then judge the seat by angle and elevation instead of how close it feels. That is about twenty minutes of homework and one purchase decision, and it works whether you are buying your first ticket or your fiftieth.
The reason this deserves a plan is that college arenas are steep, compact, and quick to sell out. Once a marquee game is gone, whatever the resale market hands you is what you get. A well-chosen upper-level center section beats a punishing baseline corner every time, and no amount of effort fixes a seat you picked without looking at the map.
Table of Contents
- What You Need
- Step-by-Step: How to Get Good Seats at a College Basketball Game
- Common Mistakes
- Frequently Asked Questions
- How early should I buy tickets for a college basketball game?
- Are lower-level seats always better at a college basketball game?
- How can I tell if a seat has a good view before buying?
- Where can I find legitimate tickets when a game is sold out?
- Should I buy basketball tickets through the school or a resale site?
- Conclusion
What You Need
Six things. Having them decided before you open any ticket page keeps the whole process fast and stops you from overpaying for the wrong seat.
- A budget ceiling in total, delivered cost. Fees are part of the number, not an extra on top of it.
- The exact game and opponent. A conference meeting, a non-conference tune-up and a rivalry game are three different markets.
- One priority, chosen honestly. Best view of the whole court, loudest room, baseline action, easy access with kids, accessibility, or lowest cost.
- A ticket source you trust. Official school or venue sales first, then an authorized or verifiable resale marketplace.
- The arena seating chart. Most schools publish a full interactive chart with row numbers and section names.
- A gameday plan. Arrival time, entrance, parking or transit, and where you will meet your group inside.
If you can name the priority and the total budget, the rest is research. This guide is written for 2026 and refreshed as arena policies change.
Step-by-Step: How to Get Good Seats at a College Basketball Game
Set Your Seat Priorities Before Buying
Start by deciding what you are actually buying, because the two most common goals pull in opposite directions. A spectator wants to read the spacing and see the whole half court. An atmosphere buyer wants to be inside the loudest six thousand people in the building, and those seats are often at the end of the court with the steepest sightline in the arena.
Deciding first means you can stop arguing with yourself later. It also tells you which sections to look for and which to walk past.
| Your priority | Where to target | What you give up |
|---|---|---|
| Best overall view of the game | Center-court sideline sections in the mid-level, or front lower-bowl rows near center | Cheapest pricing, and some proximity to the floor |
| Closest to the action | Sections behind the team benches on the sideline | A full view of the opposite half court |
| Baseline drama | Low sections behind one basket, off the corners | Fast breaks and half-court spacing |
| Loudest atmosphere | The designated student section, usually behind one basket or an end line | Anything resembling a comfortable, complete view |
| Family with young kids | Lower rows with quick concourse access, restrooms and an easy exit | Center-court angle |
| Accessibility | Wheelchair platforms and companion rows, usually at the back of the lower level | Proximity |
| Lowest total cost | Upper level or back of lower level, center or slightly off center, aisle if possible | Being close to the court |
A specific word on rows: in most college arenas, roughly the first seven rows of the lower level have so little elevation that you are looking through people, and the sightline gets noticeably better once you are above them. Arena staff themselves often point new fans toward the rows above that mark rather than the cheapest seats in the section.
One more priority worth deciding: aisle or non-aisle. An aisle seat costs a little more and saves you from squeezing past a row of strangers mid-possession, which matters more than most buyers expect over a two-hour game.
Choose the Right Ticket Source
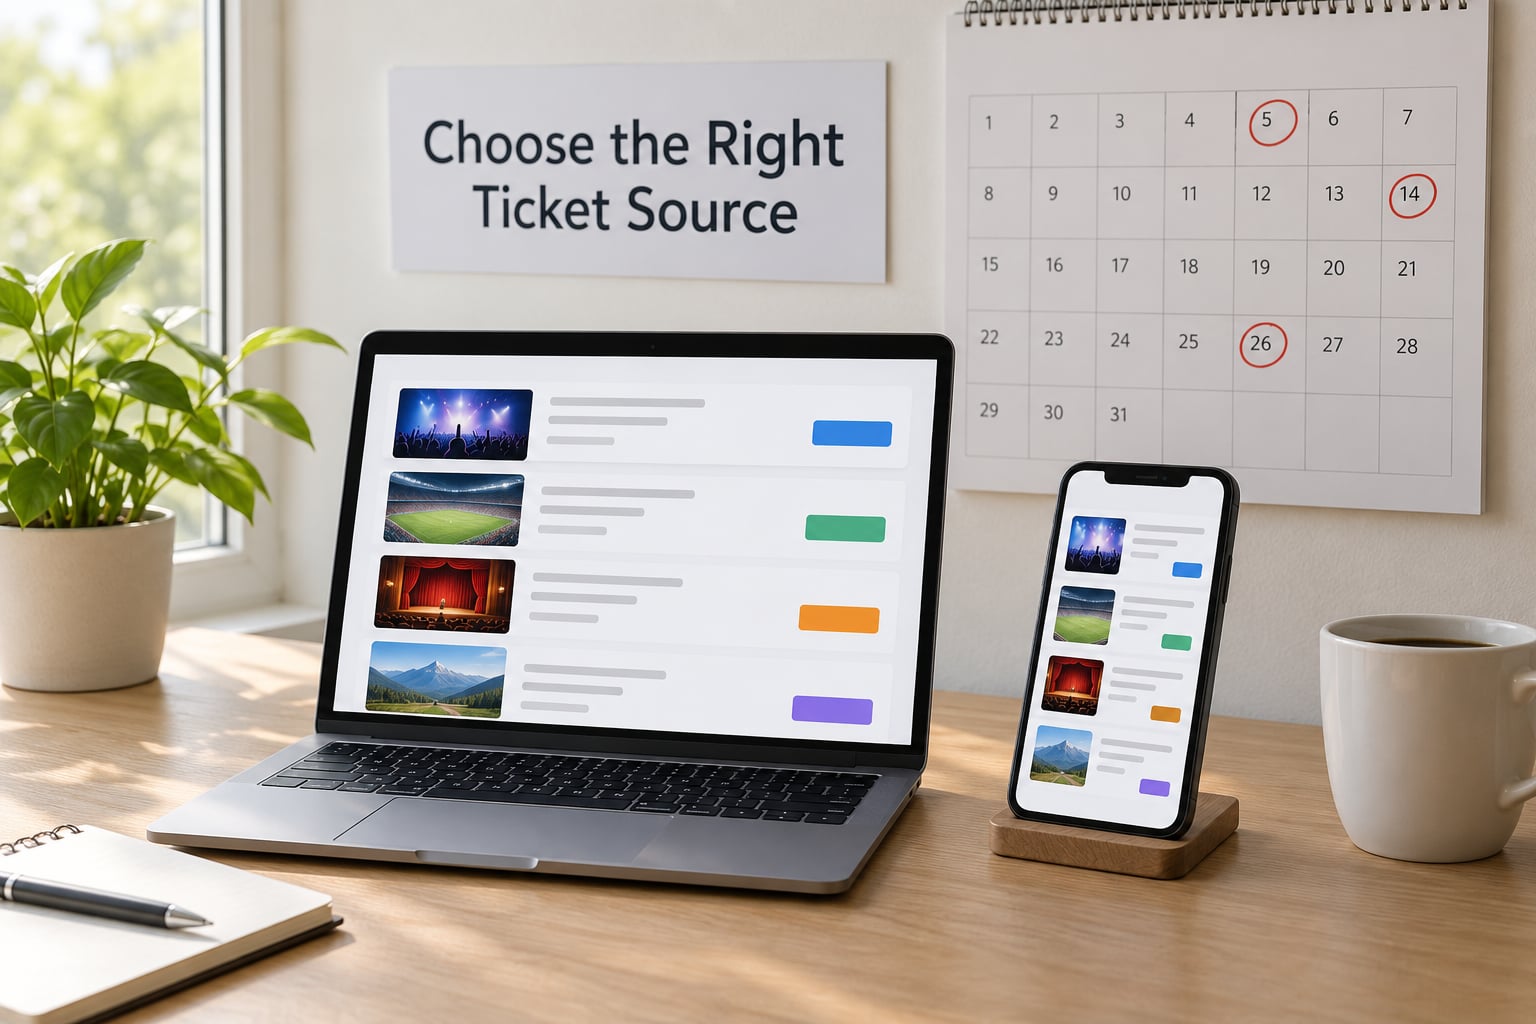
Official sales come first, and the reason is reliability rather than price. When you buy through the school or the venue, the ticket is authentic by definition, it will scan, and the seat you chose is the seat you get. You may pay a facility charge and a service fee on top, but the total is knowable before you commit.
Second in line is your own season-ticket position. Season-ticket holders typically get first access to single-game purchases before the general public release, and many programs let account holders buy a set number of extra seats for individual games during a priority window. If you already hold a membership, or you are on a waitlist, that window is worth more than any seat you could find later.
Third is an authorized secondary marketplace, which is what most non-members use. The advantage is selection: you can shop every section in the building, sort by price, and pick a specific row. The cost is that you are paying a reseller’s price plus whatever the platform adds, and the guarantee comes from the platform rather than the school.
Verified resale is the fourth option and the one to use after a sellout. Treat it as a real purchase with a real buyer protection policy, not a scavenger hunt. Ask one question before you pay: if this ticket does not scan at the gate, who refunds it? If the answer is vague, move on.
Learn the Arena Map and Seat Views
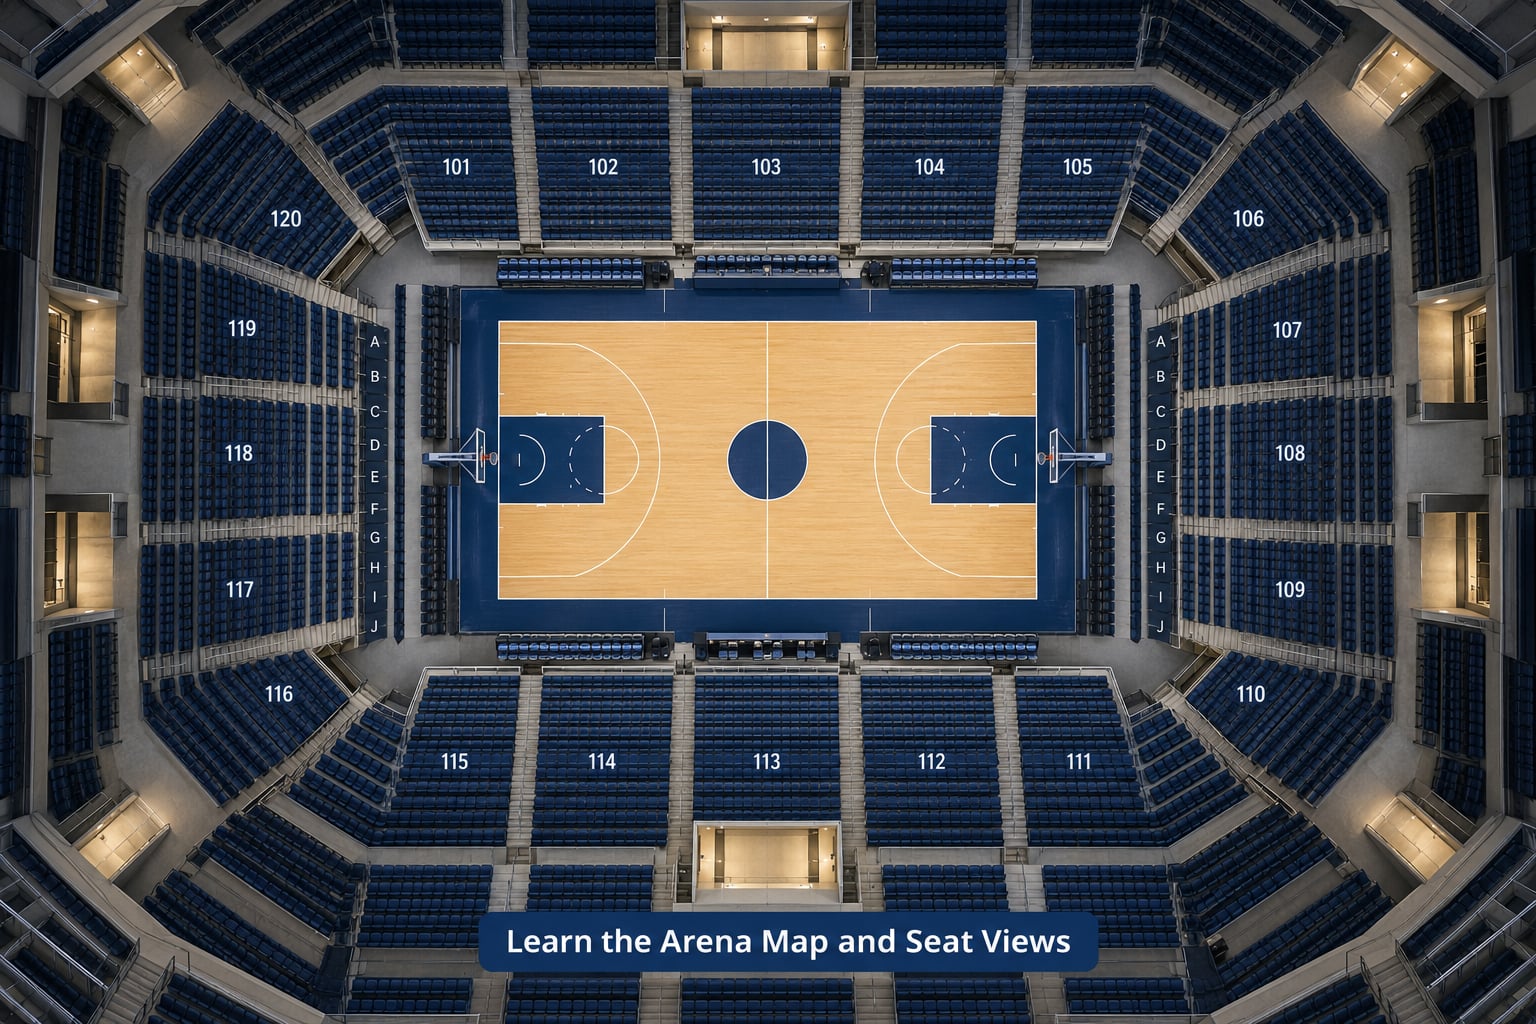
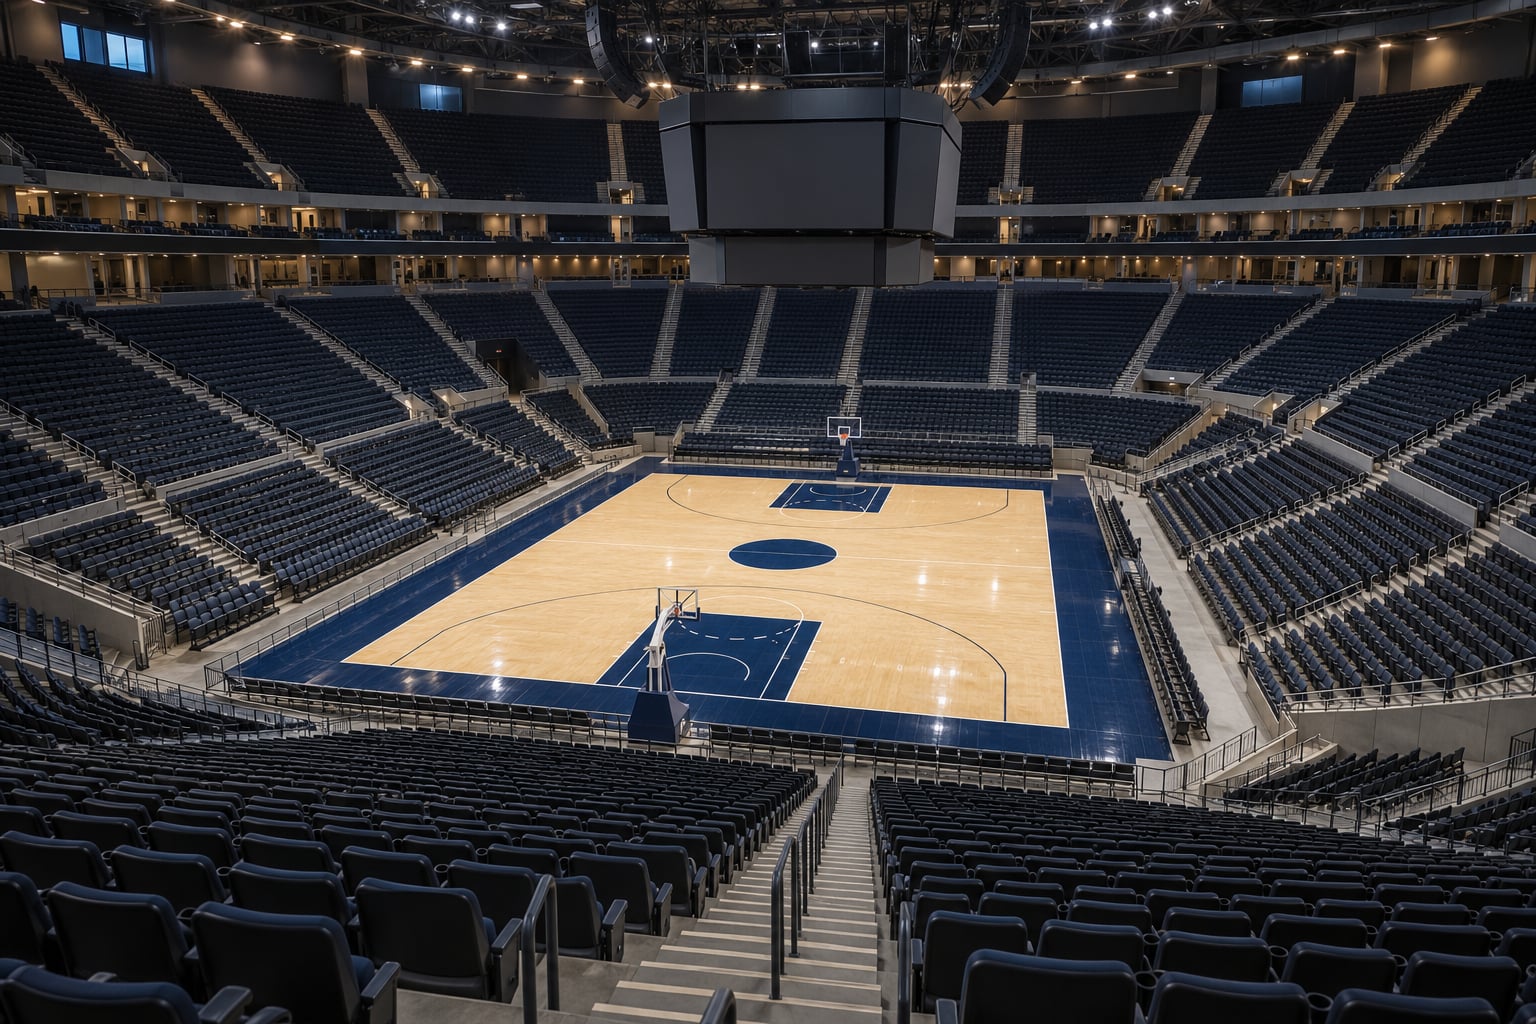
A seating chart is a map, not a recommendation. Learn to read four things on it and you can judge almost any seat: where the section sits relative to center court, how many rows separate you from the floor, whether the section sits under a scoreboard or overhang, and which sideline the benches are on.
Then go look at views of the actual section. Schools and resale sites publish seat-view photographs, and section guides rate rows individually, which matters more than the section name. One section can be excellent in rows 23 through 42 and poor at the very back, and the section next door can be the reverse. Forum posters who share photos of their own seats are more useful here than generic descriptions, because the photos show exactly what you will see.
Common problem spots, in rough order of how often they disappoint people:
- Directly behind the basket at floor level. The backboard hides the near half of the court, and layups disappear behind the structure.
- Extreme corners. You are watching the game from an angle where players overlap, and half the court happens off-axis.
- Rows under a scoreboard, ribbon board or overhang. These are often flagged as limited or obstructed view on the chart. Buy one only if you know that going in.
- The first few rows of the lower level. Great for atmosphere and terrible for watching, because you are looking up and forward at everyone in front of you.
- Deep back rows of the lower level. By that point you have paid lower-bowl money for an upper-level view. If the chart shows more rows, buy deeper in the upper level and save.
Home benches are usually on one sideline and the visitors on the other, and the game flips sides at halftime. Sections behind the benches on the home side often get a good view of the scorers’ table and the substitution line, which is exactly what some people come for, though a first-timer usually rates the full-court view higher.
Buy Early, but Watch the Release Schedule
Buying early helps when the game is important to the market, and it does not rescue you when the market is thin. Know which situation you are in before you set an alarm.
For a rivalry game, a ranked opponent, a conference tournament or a postseason game, demand arrives early and prices only move one direction. Rivalry and blue-blood matchups do not get cheaper as the date approaches, so the right move is to be ready before the public release and buy the best section your ceiling allows.
For an out-of-conference game, a non-power opponent, or a matchup at a program with a smaller following, supply often outruns demand. Forum posters at mid-major and regional programs report walk-up tickets still being available at the box office on game day, even for conference games. That changes the plan entirely: wait for the release, check pricing a few days out, and be willing to buy at the door.
The practical timeline most fans land on:
- Season window. Season-ticket renewals and waitlist movement happen first. Get on the waitlist even if you do not expect to get in.
- Student claim period. A student allotment is often separate from the public sale, and it fills in minutes.
- Priority window for members. Existing account holders buy add-on seats here.
- General public single-game release. This is the main event. Be logged in, payment method saved, and know your two acceptable sections in advance.
- Final 48 to 72 hours. Only useful for soft opponents. Legitimate lower demand shows up here as resale listings, not as official price cuts.
- Game day. Box office and will-call, for programs that hold seats back.
Use a Smart Resale Backup Plan
A resale plan is a set of rules you write down before the listings get emotional. Decide your maximum total delivered cost, your two acceptable sections, and your refusal conditions while you are calm.
Compare totals, not headline numbers. Two listings at the same face price can differ substantially once per-ticket fees and delivery charges are added at checkout. The delivered total is the only number that matters.
Refuse anything you cannot verify. That includes tickets sold over a social media direct message with no platform protection, screenshots of a confirmation email, and tickets from students claiming to have extra student-section seats. Recurring searches about whether student resale marketplaces are legitimate exist because that gray market is where most of the trouble is. If a deal requires sending money to a stranger outside a protected checkout, pass.
Move fast, but not stupid. Resale prices respond to the last few buyers, not the first. When a listing hits your number in a section you actually want, buy it. When a listing hits your number in a section you already rejected, let it go.
Recheck Your Choices Before Gameday
The night before, spend five minutes closing loose ends. Confirm the order went through and note whether the ticket is in an app, in a wallet, emailed as a PDF, or held at will-call, since mobile delivery can fail on a building with poor signal.
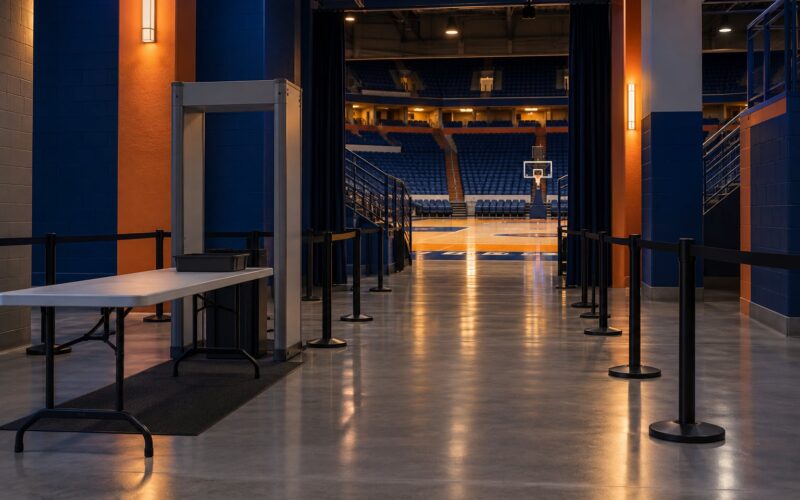
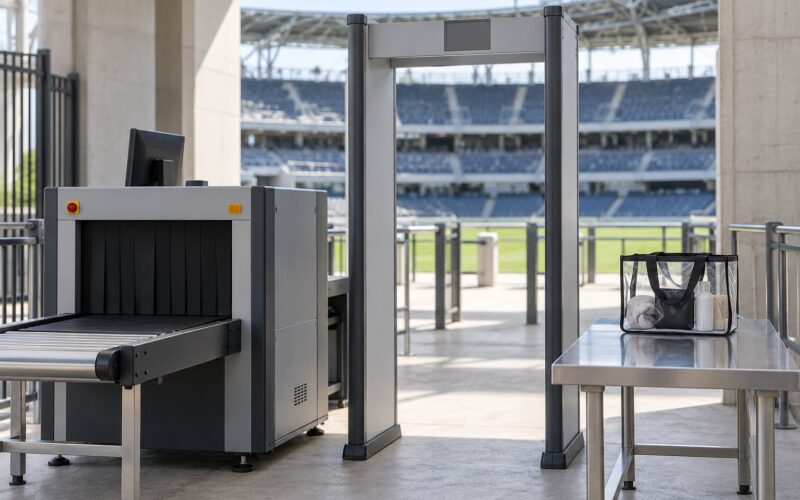
Read the arena’s gameday page for bag size, door times, and any early-entry policy. Some buildings seat general admission early and seat ticket holders at a posted time, which changes what time you need to arrive. Anyone arriving an hour early to an arena with a single entrance is having a worse night than someone who read the page.
Then handle the boring logistics. Look up parking or the transit plan, find which entrance your section is closest to, and screenshot your confirmation so it exists offline. Know the section number, the row, and the seat letter out loud, because the person scanning at the door will ask and the crowd will be behind you.
Common Mistakes
Buying too late for a game that will sell out
There is no price advantage to patience at a rivalry game. Know your release date, be ready before it opens, and decide your section in advance so you are not browsing during the first minute of sales. The fix is preparation, not luck: pick two acceptable sections and a ceiling, then commit in the first few minutes.
Ignoring the seating chart entirely
People buy by level name because “lower bowl” sounds premium, then discover they took the worst seat in it. The fix takes ten minutes: open the chart, find your section, count rows to the floor, and check the chart’s own notes for obstructed or limited view.
Confusing listed price with delivered cost
Sort and compare by the total you will actually be charged, including fees, and read the delivery terms before you commit. A cheaper face price with heavier fees is not a cheaper ticket.
Buying from unverified sellers
Use platforms with buyer protection and a clear refund policy for anything not sold directly by the school. Keep the confirmation email and order number. A guarantee you never read is not a guarantee, and pay-by-transfer links from strangers are the standard shape of these problems.
Overlooking obstructed views
Scoreboards, ribbons and overhangs block sightlines, and the listing may say “obstructed” or “limited view” in small type. Check for that wording, look at a seat-view photo of the exact rows, and decide whether the discount is worth it for your eyes.
Assuming every resale listing is legitimate
Duplicate listings, screenshots and unverifiable transfers are common. Buy only what scans at a gate, and only through a checkout that carries the guarantee. If a listing cannot be confirmed after one question to the seller, it is not a deal.
Arriving without knowing the entrance or seating time
Screenshot your confirmation, note the section and row, and check the posted seating time for your arena. A correct seat at the wrong door can cost you the first ten minutes of the game, which is exactly the part first-timers want to see.
Frequently Asked Questions
How early should I buy tickets for a college basketball game?
For rivalry games, ranked opponents, conference tournaments and postseason games, buy the day the general public release opens, because demand outruns supply and those prices do not soften. For out-of-conference games or smaller programs, waiting until a few days out or even game day can work, since walk-up tickets are often still available. The release schedule on the athletic department site is the only date that matters.
Are lower-level seats always better at a college basketball game?
No. The first several rows of the lower level have almost no elevation, so you watch through the heads in front of you and lose the far half of the court. Mid-level sections at center court, or upper-level center seats near the aisle, often give a cleaner read of the whole floor than the cheapest floor-level seat. Judge by angle and row number, not by the level name.
How can I tell if a seat has a good view before buying?
Open the arena seating chart, locate the section relative to center court, count rows to the floor, and check whether it sits under a scoreboard or overhang. Then look for seat-view photographs of those exact rows on the venue site or on a seat-view guide. Section guides often rate rows individually, so the same section can be excellent at row 20 and poor at the back.
Where can I find legitimate tickets when a game is sold out?
Start with your own account: season-ticket holders usually get a priority window for extra seats, and waitlist movement happens throughout the season. Then use a resale platform that carries a written buyer guarantee, compare delivered totals rather than headline prices, and check the venue’s box office for any held-back public release. Buy only what scans, and keep your confirmation email.
Should I buy basketball tickets through the school or a resale site?
Buy through the school when the game is on the general public release, because authenticity is guaranteed and the total cost is known up front. Resale matters when the release is gone, when you need a specific section, or when you are buying extras alongside a season-ticket holder. Either way, confirm the section, row and delivery method before you pay, and read the guarantee terms.
Conclusion
Knowing how to get good seats at a college basketball game comes down to discipline, not luck. Name the game, pick one priority, and work down the same list every time: official or verified source, total cost in hand, arena map checked, seat judged by angle and row, gameday details confirmed the night before.
Start with the game you actually want and find its release date. Everything else in this guide hangs off that one date.