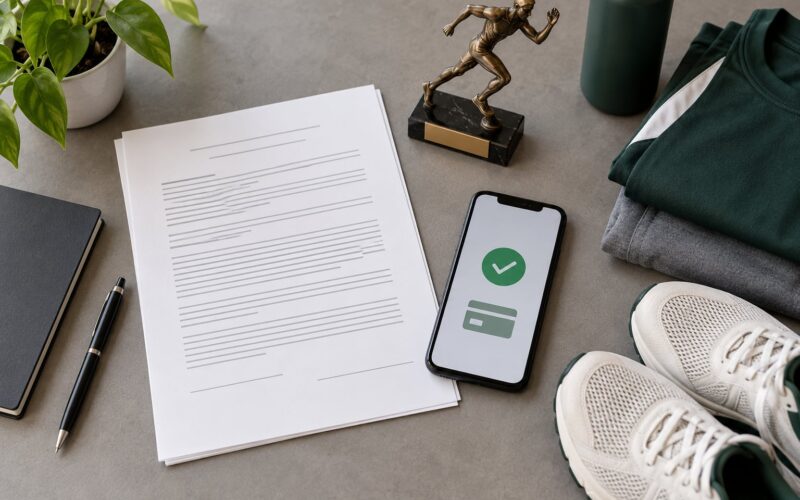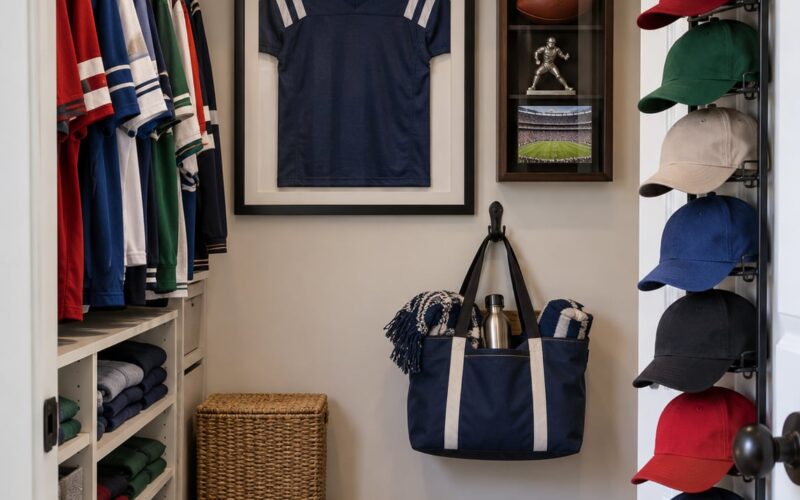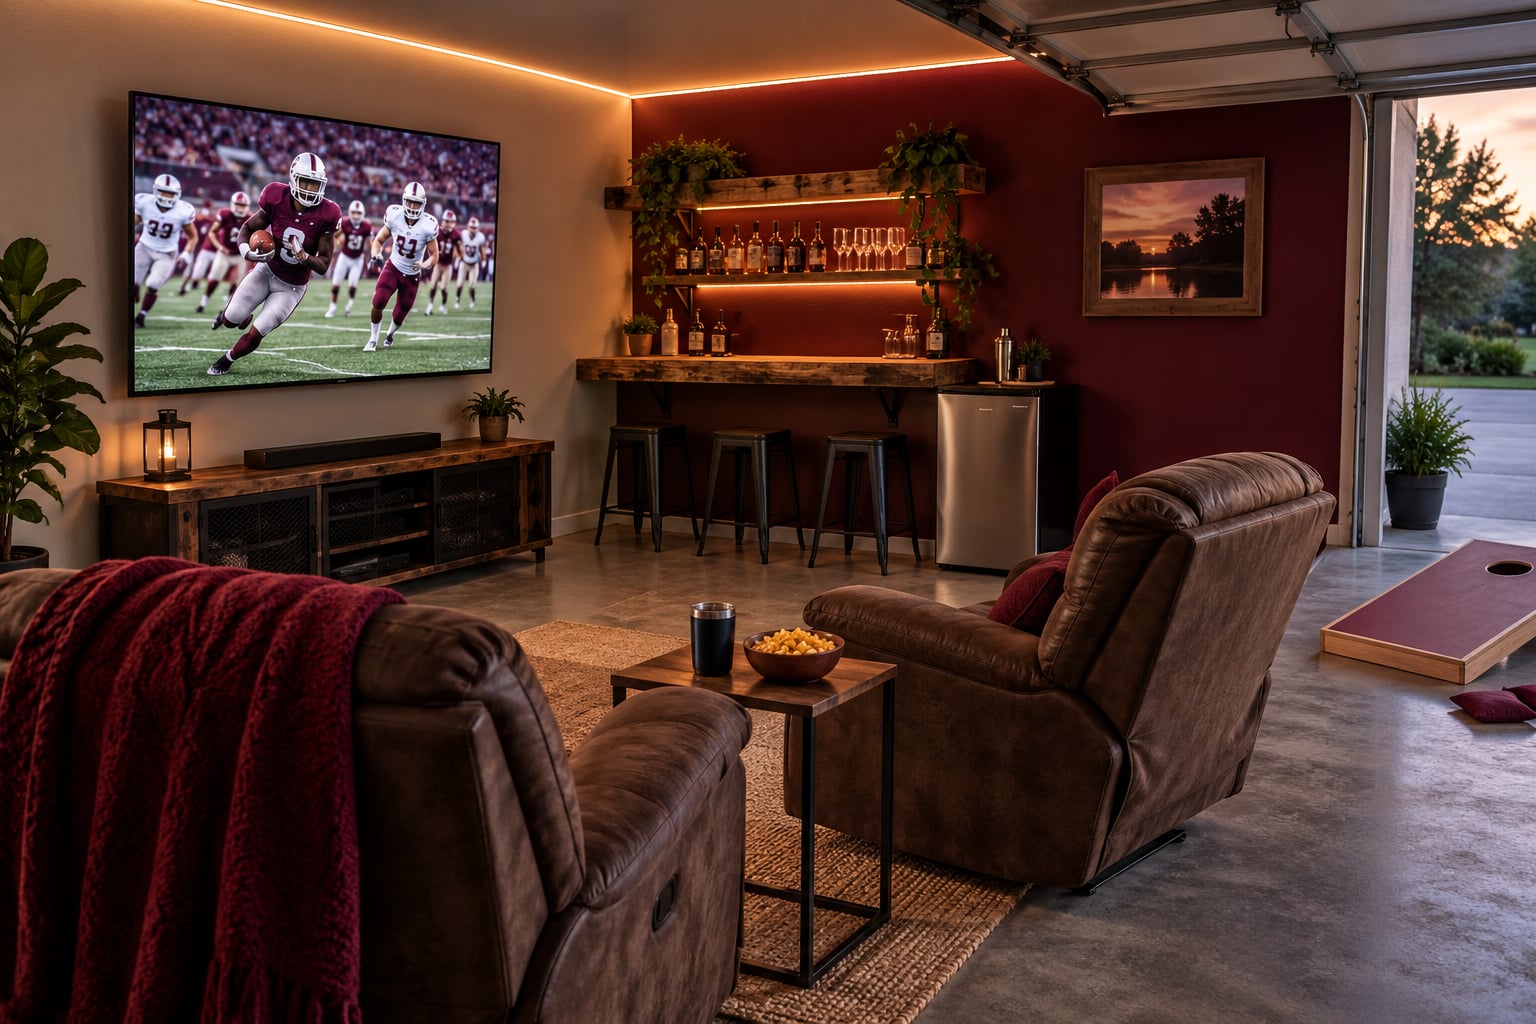
A college sports man cave is any room, garage, basement corner, shed, or apartment setup built around one screen, decent sound, and team gear, and you can build one without spending much if you set a ceiling before you buy a thing. This guide walks through how to build a college sports man cave on a budget in six steps, in the order that saves the most money.
The order matters more than the price tags. Most blown budgets come from buying the memorabilia first and then discovering there is no money left for somewhere to sit. Get the room measured, pick the viewing layout, then buy in a fixed sequence.
College seasons are short. A home schedule is roughly 15 game days, which means a room built only for Saturday kickoff gets abandoned by October and resents you by December. Build one that also works for a Tuesday night game, a Sunday watch party, and whatever else you actually watch.
Table of Contents
- What You Need to Build a College Sports Man Cave on a Budget
- Step-by-Step: Build a College Sports Man Cave on a Budget
- Step 1: Plan the Room Around the Big Screen
- Step 2: Choose a Budget-Friendly College Sports Color Scheme
- Step 3: Build the Main Team-Spirit Focal Point
- Step 4: Add Flexible Seating and a Game-Day Table
- Step 5: Upgrade Lighting Without Rewiring
- Step 6: Finish with Storage, Accessories, and Game-Day Comfort
- Common Budget Mistakes That Cost More Later
- Frequently Asked Questions
- How much does a college sports man cave cost to build on a budget?
- Can I build a game-day room in an apartment or dorm?
- Is a projector better than a TV for watching football?
- How many people can a small game-day room seat?
- Where can I find cheap college memorabilia?
- What DIY projects work in a budget man cave?
- Conclusion
What You Need to Build a College Sports Man Cave on a Budget
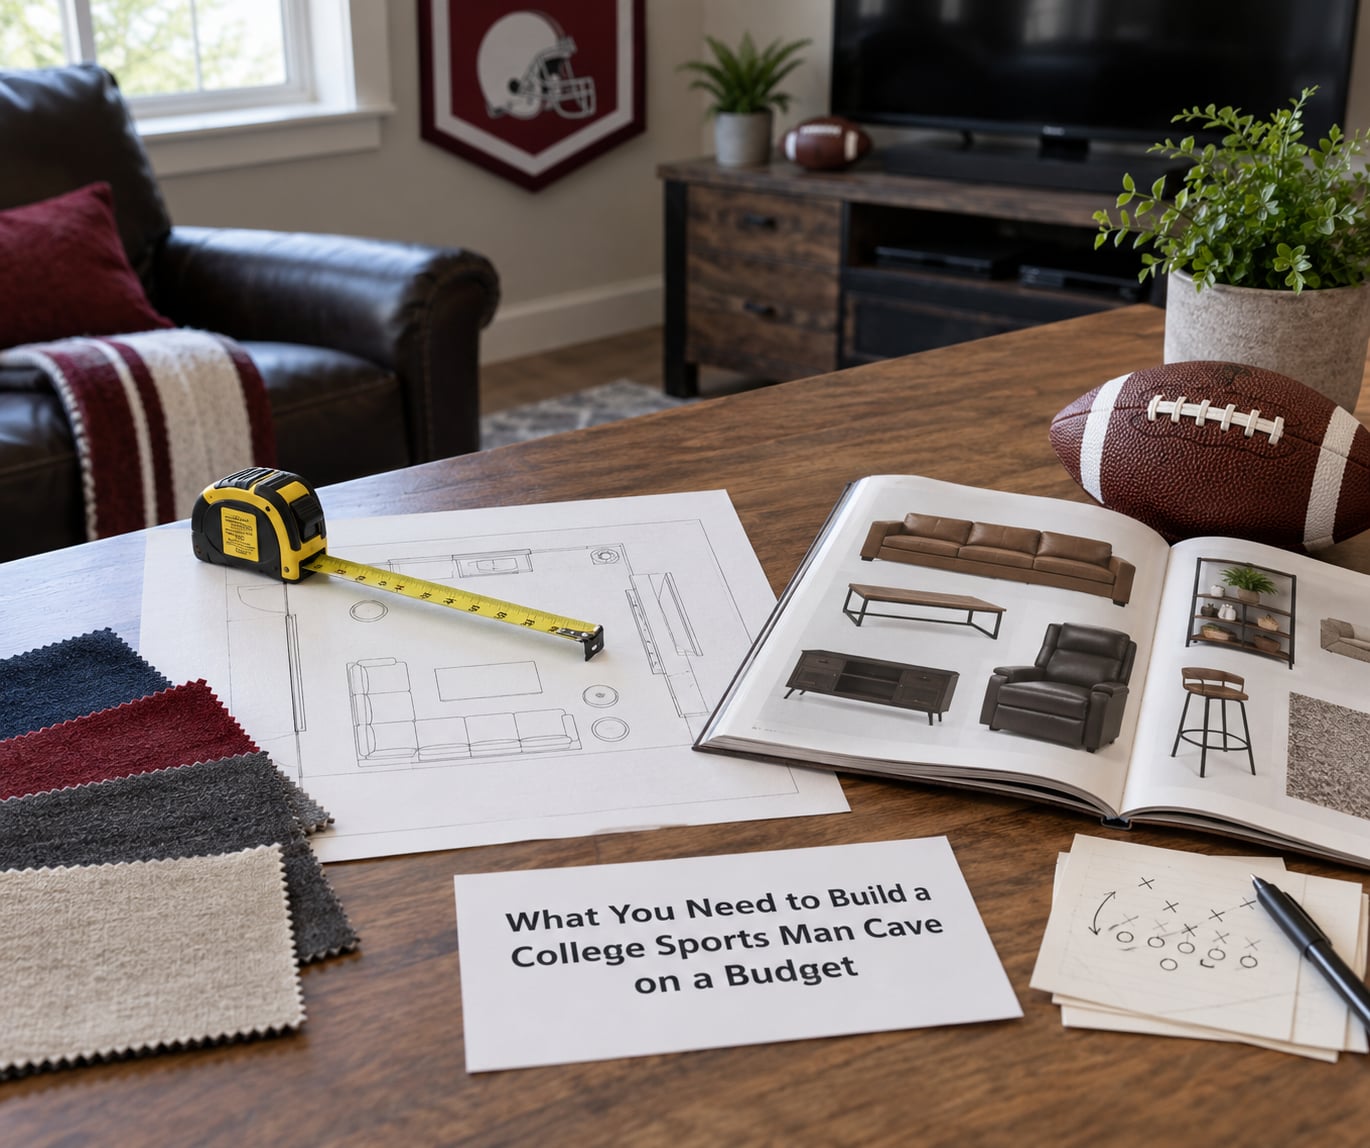
Before anything else, write down one number. Not a range, one number, the most you are willing to spend in the first year. Then split it into four sub-ceilings: screen and audio, seating, bar and storage, decor. A sub-ceiling is what keeps the screen from eating 70 percent of the plan on day one.
Next, gather the physical tools. You need a tape measure, a roll of painter’s tape, a piece of paper for a floor plan, and your school’s official color values, which you can pull from the athletics brand guide or just sample from a jersey. A level, a stud finder, and a cordless drill cover most of the mounting work.
Photograph the room from each corner before you move anything. Those four photos are what you compare against at the end, and they are the difference between a room that looks finished and one that just looks rearranged.
What to skip until the room already works
Skip the pool table, the arcade cabinet, the neon sign, the full wall of custom graphic panels, and any project that needs a permit. Add one of those later with leftover money or a birthday check. A room with good sightlines and working sound beats a room with a pool table and nowhere to sit every time.
Step-by-Step: Build a College Sports Man Cave on a Budget
Step 1: Plan the Room Around the Big Screen
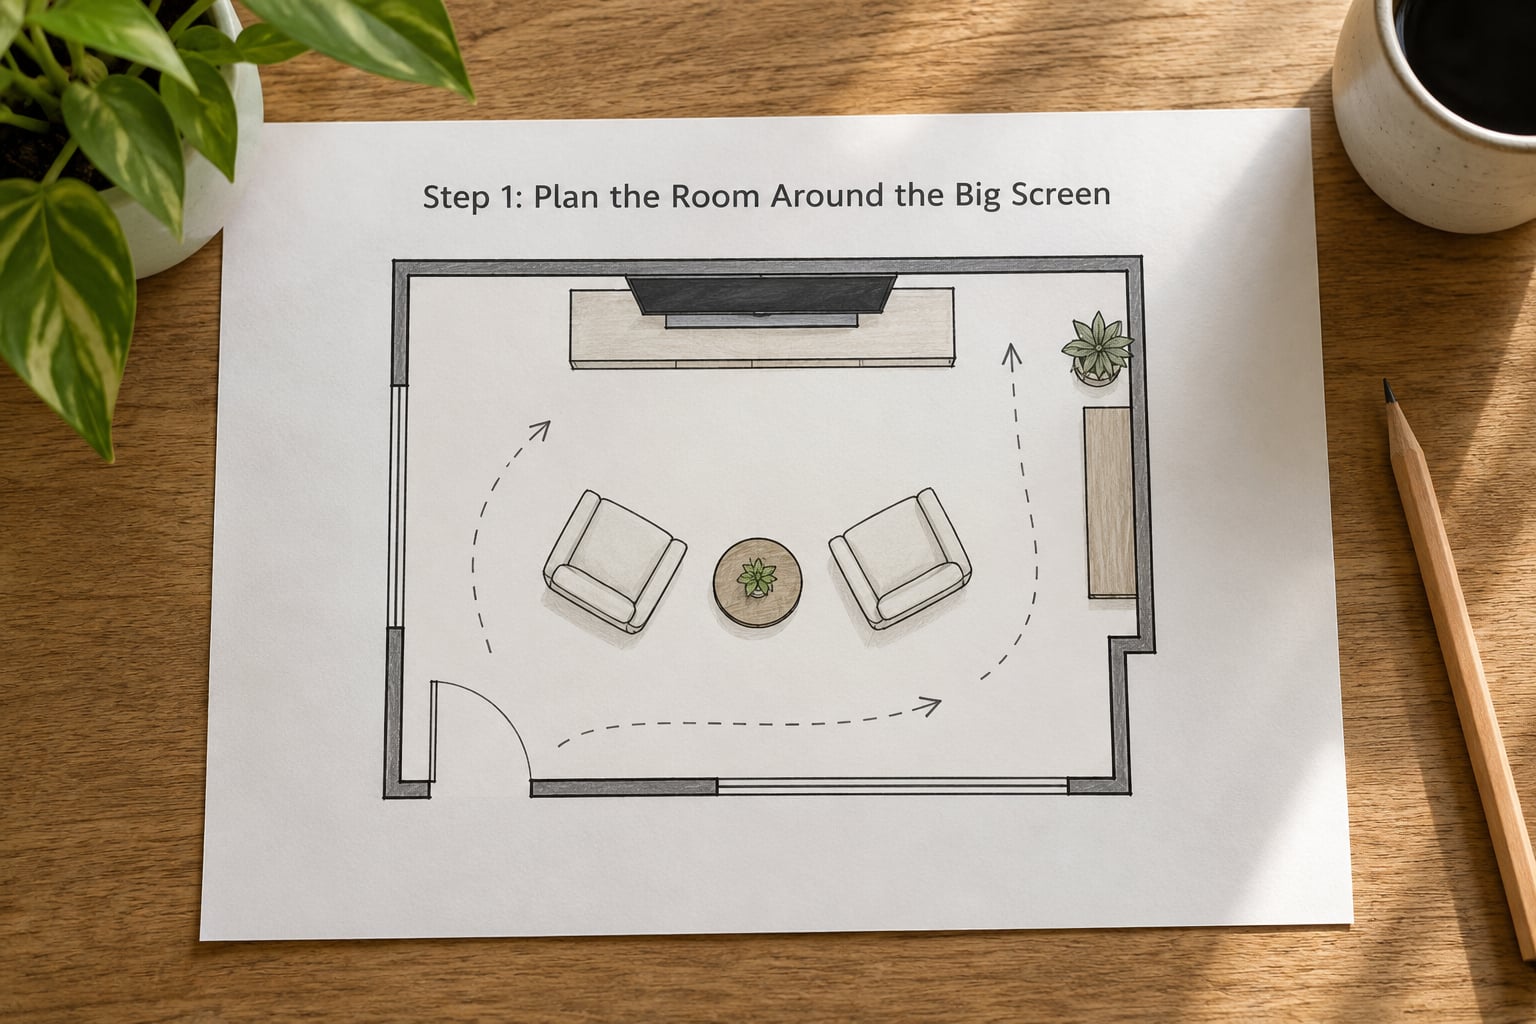
Measure the room twice, then mark the screen footprint on the floor with painter’s tape before you buy anything. How it worked: you can stand inside the taped rectangle and see whether chairs fit around it without blocking the door or the fridge.
Sitting about 7 to 10 feet back from a 65 inch screen gives most people a comfortable view of a football field without squinting at the down marker. Sit closer for basketball, where you want to see the refs. Whatever you choose, test it by taping the rectangle on the floor and sitting on the floor inside it, which is the cheapest screen test there is.
Put the main screen on the wall that gets the least daylight. Daylight is the enemy of both TV brightness and any projector you might add later, and moving the screen later means re-running every cable.
Leave a walkway of about 30 inches between the seating cluster and the door and the fridge. Game-day foot traffic goes to the bathroom, the kitchen, and the ice, and a narrow path turns a watch party into a queue.
Step 2: Choose a Budget-Friendly College Sports Color Scheme
Two school colors plus one neutral is the whole scheme. Two school colors and a wall of them reads as a team room instead of a storage closet.
Pick one wall for the school color and leave the rest neutral, usually in a warm gray, off-white, or charcoal. Peel-and-stick color panels or rollable wallpaper let you do that for a fraction of a repaint, and they come off clean at the end of a lease.
Then check the color scheme against the screen. A bright red wall behind a screen competes with it, so put your strongest color on the wall the screen does not face, and you get the team look for almost nothing.
Step 3: Build the Main Team-Spirit Focal Point
Pick one showpiece and let it carry the room. A banner, a shadow box of ticket stubs and receipts, or a thrifted frame wall of old game tickets all work, and all of them cost less than one licensed jersey.
Frame what you already own. Old ticket stubs, printed bracket charts, a roster photo from a year you loved, even a signed play sheet from a practice run all make a better wall than generic wall art. Dollar-store frames in team colors cost less than you think and you can swap the art every season.
A letterman jacket hangs on a mounted hook like a coat, which costs nothing and reads instantly from across the room. Skip the display case, which is one of the most overpriced boxes in sports decor.
On licensed marks, use them the way they are meant to be used. Official merchandise and licensed décor are fine for your own space. Homemade replicas, printed logos on shirts, and anything you plan to sell are where people run into trouble, so keep those off your wall.
Step 4: Add Flexible Seating and a Game-Day Table
Budget for roughly 12 to 15 square feet of floor per seated guest if you want clear sightlines to the screen. In a 12 by 16 room that is about a dozen people comfortably, with folding chairs along the wall for the overflow weeks.
Build the core seating from thrifted recliners and used chairs. Marketplace and resale sites are full of game-room seating that families are clearing out of a basement, and the frames are identical across brands anyway. Add washable covers, which solve the problem of every room being someone’s second home.
Add one table, not four. A 30 to 36 inch round table, a coffee table, or a folding table against the wall is enough for pizza, wings, and a card game. A tray arm or a cheap C-table on the chair arm means nobody balances a plate on a knee, which is how games get spilled.
Bean bags are the cheapest overflow seating there is and they slide under a table when you need the floor back for cornhole. Keep two or three rather than a wall of them.
Step 5: Upgrade Lighting Without Rewiring
Light in three layers: something overhead, something to see by, and something that makes the room look like game day. A single ceiling bulb in a bare room is why most budget setups look unfinished.
LED strip lighting along the ceiling perimeter is the cheapest big win. It costs almost nothing, it plugs into a wall outlet, and it changes the whole feel of a room during a night game. Warm white strips look better than the cool white ones, and you can run them behind a shelf or under a bar for a floating look.
Add a floor lamp or two in the corners so faces are lit from the side, and put an amber bulb in any table lamp near the seating. Overhead-only lighting flattens a room and makes a big screen harder to look at.
Keep to plug-in, rated fixtures. Anything that means opening a box, running new wire, or adding a circuit is electrician territory, and it is also where budget projects turn into expensive ones.
Step 6: Finish with Storage, Accessories, and Game-Day Comfort
Every game day brings clutter, so plan for it before it arrives. Bins and cube shelving hold the jackets, the cornhole boards, the extra chairs, and the folding table you keep stashed. Closed storage is what keeps a small room from looking crowded.
A mini fridge with a real outlet nearby pays for itself in season. Add a second one only if the room has the floor space and the circuit to handle it, and put both on their own outlets rather than sharing one cord with the soundbar.
Cable management is the step everyone skips and everyone regrets. Run surface raceways along the baseboard, mount the surge protector inside a furniture piece, and label both ends of every cord. Fifteen minutes now saves an hour of fishing a cable through a wall later.
Finish with the fun stuff: a cornhole board or a dart board for halftime, washable throws, a team-brand hand towel or a mini fridge magnet set, and a dry erase board for the week’s schedule and the wifi password. Halftime entertainment costs less than any streaming upgrade and keeps a full room from getting restless.
Common Budget Mistakes That Cost More Later
Buying decor before seating is the single most common way these rooms go wrong. Fix: buy the screen and enough chairs to sit down first, then shop with whatever is left.
Overspending on the screen while skipping the sound is the second. A mid-range set in a room that echoes sounds like a broadcast in a parking garage. Fix: spend roughly a quarter of the screen budget on audio, and put a soundbar or a pair of powered speakers on stands rather than in a cabinet.
Overcrowding the room is a layout problem, not a shopping problem. Ten people in a space built for six means three of them watch over a shoulder. Fix: measure per person, then hold the line on how many seats go in.
Using licensed logos incorrectly, especially on homemade items you might resell, creates real legal exposure. Fix: buy licensed gear for wearing and display licensed décor as it is sold, and keep your own custom pieces logo-free.
Blocking outlets and overloading an old extension cord is the fix-it-later mistake that ends with a tripped breaker mid-game. Fix: find your outlets before you buy furniture, then use one outlet per major item.
Ignoring cable management until after the screen is mounted means visible cords on the nicest wall in the house. Fix: run the raceways before the screen goes up, every time.
Frequently Asked Questions
How much does a college sports man cave cost to build on a budget?
A budget college sports man cave depends entirely on the room you start with. A rented apartment corner or dorm room built with removable pieces stays in the low hundreds. A furnished garage setup with a mid-size screen, sound, thrifted seating, and a mini fridge lands in the middle. A finished basement or shed with a projector and a real bar runs well past a thousand. The variables that move the total are the screen size, whether you build or buy seating, and whether anything needs wiring.
Can I build a game-day room in an apartment or dorm?
Yes, and it is the version most fans actually live in. Skip anything that requires drilling: use peel-and-stick wall panels and removable decals instead of paint, a single mid-size screen or a portable projector with a dark blanket on the wall, LED strips with removable adhesive, folding director chairs, and a folding table for food. A mini fridge and a washable throw finish it. When you move, everything comes off the wall in an afternoon.
Is a projector better than a TV for watching football?
A projector wins on size for the money in a room you can darken, which is why it belongs in a finished basement or shed with controlled light. A TV is brighter, easier to mount, and needs nothing done to the windows. If your room has a window or two that will not close, buy the TV. If the room is windowless and you want a huge image, a projector plus a screen is the better buy, and you should budget for bulb replacement.
How many people can a small game-day room seat?
Plan on about 12 to 15 square feet per seated guest for clear sightlines to the screen. That puts a 12 by 16 room at roughly a dozen people with no one watching over a shoulder. Keep two or three folding chairs for the weeks that go past a dozen, and push the overflow against the wall with a bean bag. If your space is smaller, cut the guest list rather than the sightlines, because the sightlines are what make a room feel like a man cave.
Where can I find cheap college memorabilia?
Check the team shop at the end of the season, when licensed jerseys, hoodies, and blankets get marked down heavily, and before season opener weekends when they do not. Alumni groups and booster club sales often run better deals than retail. Thrift stores are strong on framed old tickets, hats, and signage. Stadium giveaways and bowl-game trips produce free items nobody else has. For game-worn items, check consignment sellers and read every listing description carefully before buying.
What DIY projects work in a budget man cave?
The cheapest useful builds are the ones that hide mess or add storage. Pallet bar shelving or a cable-reel coffee table, bottle-cap counters, framed ticket-stub walls made from dollar-store frames, and LED strip lighting all cost mostly time and a few fasteners. A reclaimed wood side table using leftover flooring planks is another good one. Skip anything requiring new wiring or a wet saw unless you already own the tools, because tool rental eats a project budget fast.
Conclusion
Start with the tape measure. Mark the screen footprint on the floor and settle the seating count before a single purchase, because those two numbers decide what everything else costs. Then put your first money into the screen and enough chairs to sit down, with a soundbar or two powered speakers close behind. Third, build one strong team-spirit focal point from what you already own, the framed tickets, the banner, the jacket on the hook. Leave the rest of the money for next season.
A college sports man cave on a budget is not about owning less, it is about buying in an order where nothing has to be replaced later.