To make a high school football highlight film, you gather usable game footage, pull the best plays into clips, order them with your strongest moments first, trim out the dead space, mark your player so viewers can follow them, then export at 1080p and share it privately. It takes one evening per film if you have a template, and no editing experience at all to start.
The part that trips up most parents is not the editing. It is deciding what belongs on the film and how long it should run. A coach who opens a recruiting tape has a short window to decide whether the player is worth a closer look, so a film full of long, untrimmed plays in chronological order loses attention before it earns any.
I have watched this pattern play out over and over with families starting from zero. The good news is that the whole job fits on a phone or a laptop with free software, and the first film you make will not be your best one. The tenth will be quick.
Table of Contents
- What You Need
- Step-by-Step: How to Make a High School Football Highlight Film
- 1. Define the Film’s Purpose and Ideal Length
- 2. Gather and Organize Every Clip
- 3. Select Clips That Show the Player’s Strengths
- 4. Build a Clear Opening and Story Structure
- 5. Edit for Clean Audio, Sharp Video, and Fast Pacing
- 6. Add Context Without Overloading the Film
- 7. Export and Review the Highlight Film
- Common Mistakes and Quick Fixes
- Frequently Asked Questions
- Conclusion
What You Need
You need six things, and most of them you already own.
- Footage. Full-game video from a phone on the sideline, a tripod-mounted camera in the stands, a sideline film service, or the team’s own game film. Whatever you have, work with that.
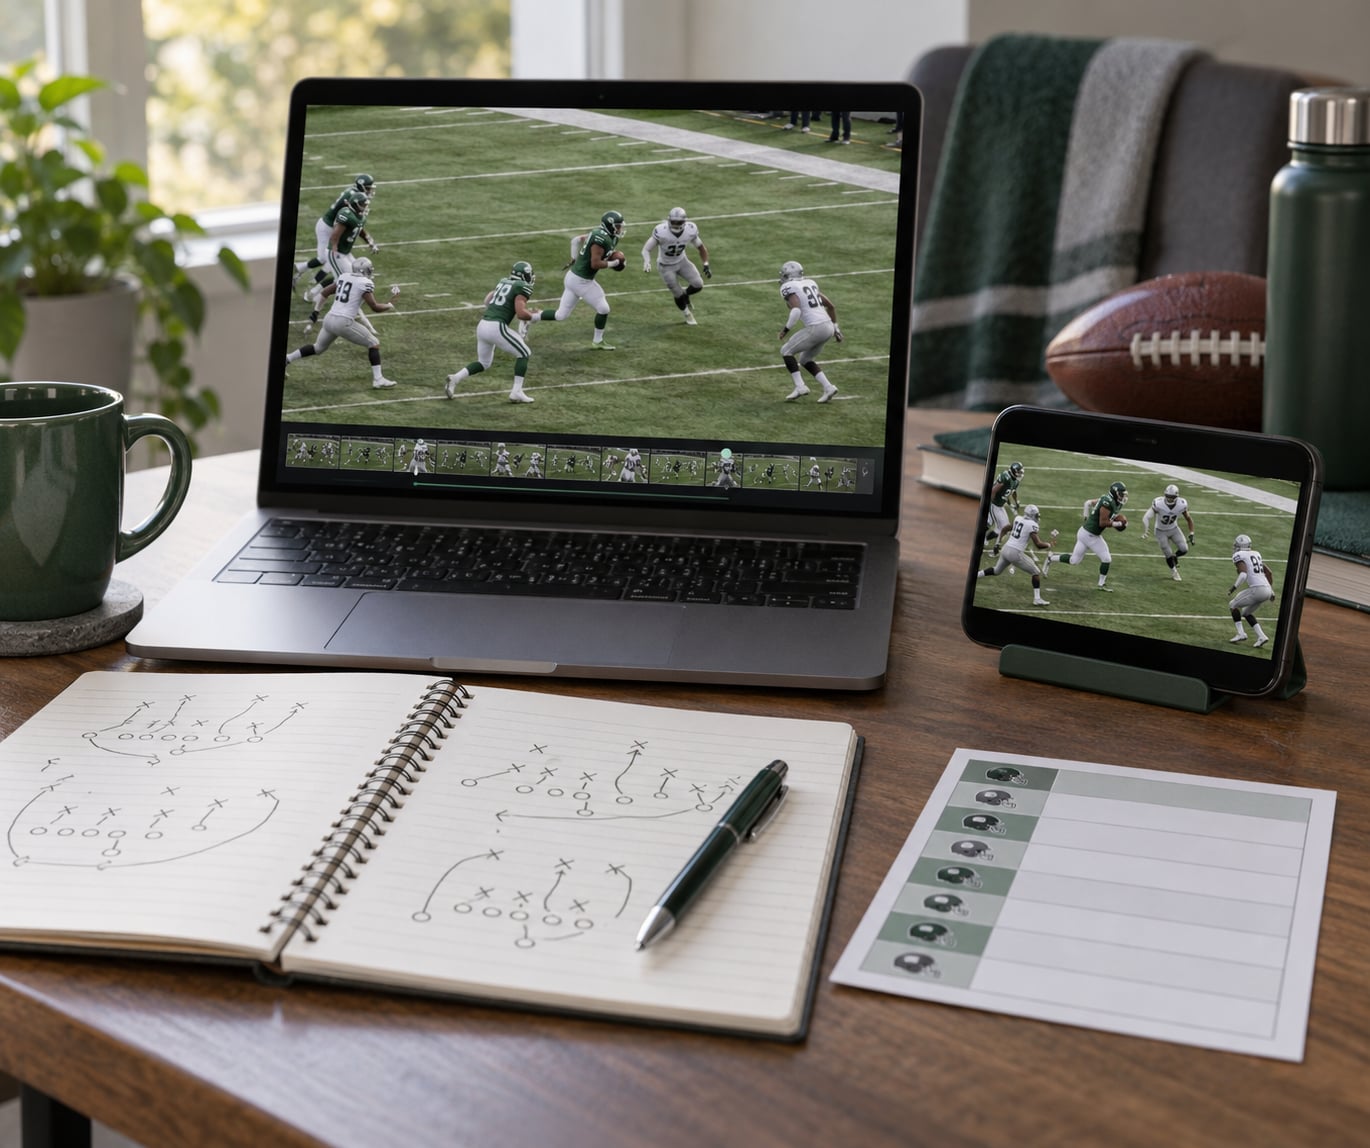
- A device for scrubbing through it. A laptop is better for reviewing full games, since a phone struggles with a two-hour file. A tablet works as a middle ground.
- An editing app. CapCut and iMovie are the easiest starting points on mobile and Mac. DaVinci Resolve is the free option with the most control if you want to work on a computer.
- Storage. Two to three times the size of your raw footage, so clips have somewhere to live that is not your only camera roll.
- A music source you have the right to use. The royalty-free libraries built into YouTube, CapCut, and Instagram, or tracks licensed for video use from a library like Epidemic Sound or Artlist.
- Export settings decided up front. Know where the film is going before you start, because the aspect ratio choice is expensive to change later.
Step-by-Step: How to Make a High School Football Highlight Film
The workflow below runs from raw footage to a file you can email. The organizing idea is simple: the film should show a player’s best moments in a deliberate order, not every important play stacked in the order it happened.
1. Define the Film’s Purpose and Ideal Length
Decide what this film is for before you touch a single clip, because the three common versions have different rules.
A recruiting film targets college coaches and scouts. It runs about three to four minutes per position, trimmed tight, with the player spotted on screen throughout. That length is the number coaches themselves cite, and it is short on purpose.
A position reel is the same idea for a player showing one skill set, such as a running back who only wants routes and finishes on screen. Two minutes is usually plenty.
A team season cut is for the team page, the booster club, or the end-of-season gathering. It can run eight to twelve minutes because nobody is evaluating anyone in the first thirty seconds.
Set the aspect ratio at the same time. Sixteen-by-nine for a film headed to a coach, YouTube, or a Hudl profile. Nine-by-sixteen vertical if it is going to Reels, Shorts, or TikTok. Mixing the two later means re-laying the whole edit.
2. Gather and Organize Every Clip
Pull every game file into one folder structure and name it before you start editing. A simple scheme works: a folder per season, a subfolder per opponent, and filenames that carry the date, opponent, and side of the ball.
Filenames like 1024_Northside_Offense.mp4 tell you what you are looking at in the file browser six months from now. Names like IMG_4821.mp4 do not.
Backup before you delete anything. Copy the raw footage to a drive or cloud folder, then edit from the backup. Losing a senior season to one dropped phone is a bad afternoon.
If all you have is film your coach shot or a stream you recorded, work from that. You can pull highlights for your own use and your own recruiting, but you cannot republish team film publicly without permission, and most programs have a rule about it. Ask before you post anything with other players’ faces in it.
3. Select Clips That Show the Player’s Strengths
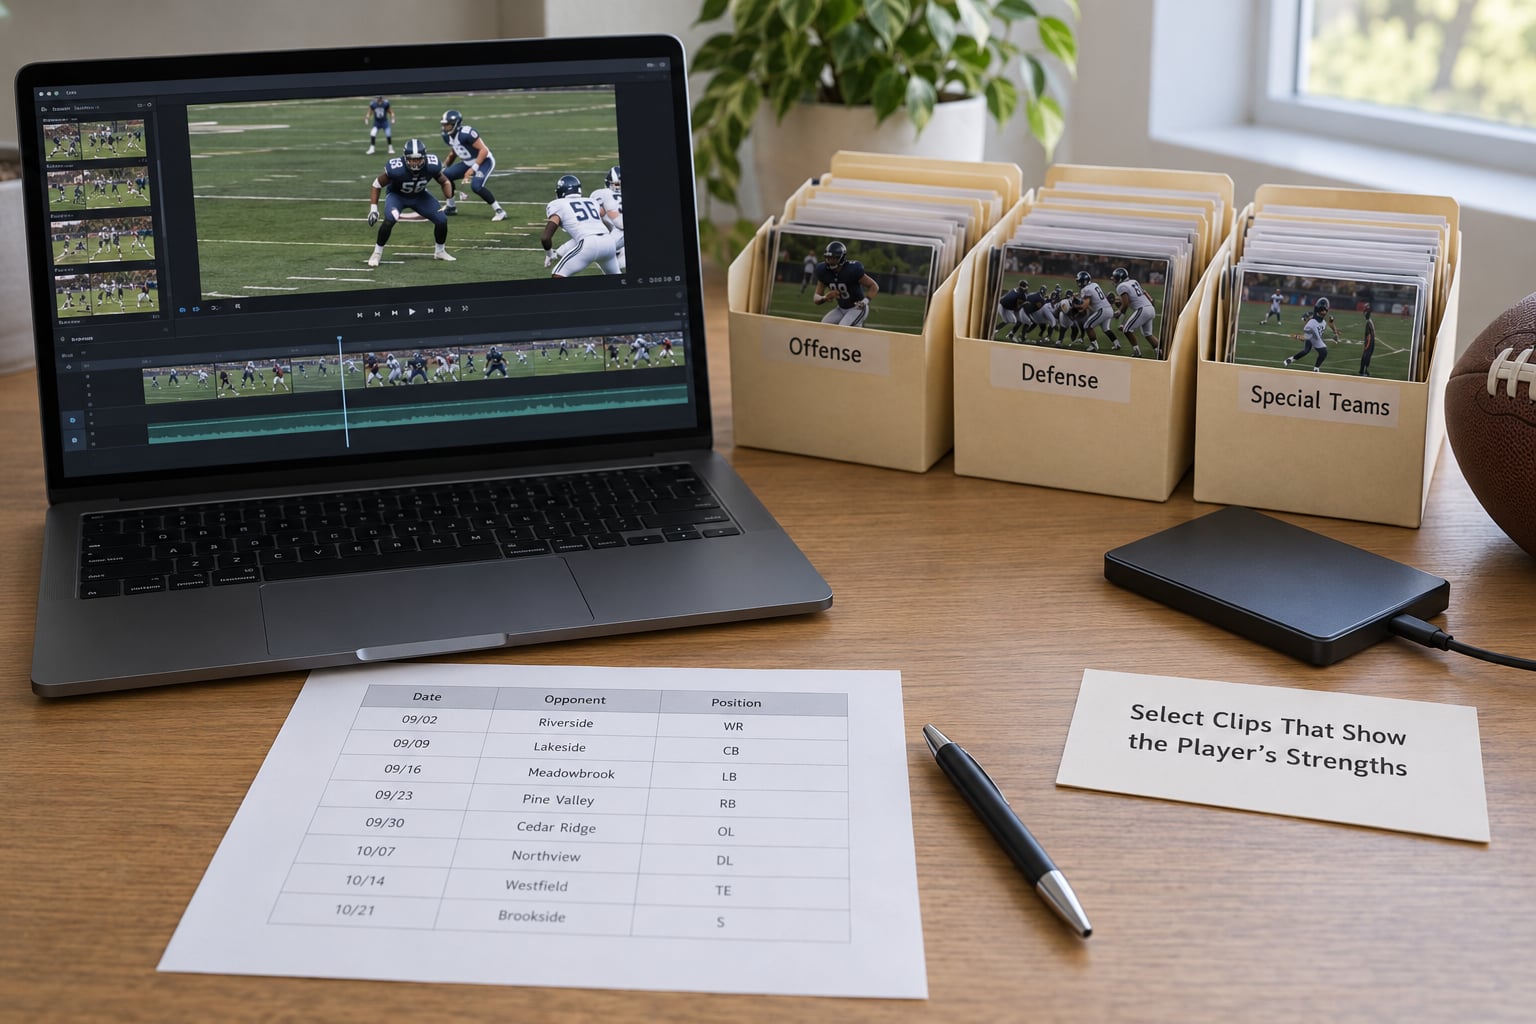
Choose plays that prove something, not plays that merely look exciting. For a quarterback that means reads, timing, and completions under pressure. For a defensive back it means breaking on the ball and tackling in space. For a lineman it matters that the play is shown from an angle where the technique is visible.
Watch the full game once and write down timestamps as they happen. Then come back and pull those clips. Pulling clips cold, scrubbing a two-hour file at random speed, is where most of an evening goes.
Cut anything that repeats a play already on the film. Coaches hate watching the same touchdown twice, and it reads as padding. Drop plays where the player is a minor part of a crowded frame unless something notable happens anyway.
Leave room for effort and character, not just production. A player fighting through a block, or getting up after a hit, tells a coach something a clean stat line does not.
4. Build a Clear Opening and Story Structure
Open with a two-second player card: name, position, school, height, weight, and class year. Then go straight into the single most impressive play you have.
The first thirty seconds decide whether the rest gets watched, and the most impactful play belongs there. After the opener, build a rough arc: proof of ability first, then supporting plays that show versatility, then pressure moments where the player was tested, and a strong finish rather than a fade-out on a weak block.
Chronological order is the one layout to avoid. It puts the opener of the season in the opener of the film and makes a good player look like they disappeared for three weeks.
5. Edit for Clean Audio, Sharp Video, and Fast Pacing
Trim the dead space first. Start each clip a second or two before the snap, at the moment the play is called, and end it as the tackle finishes or the player breaks away. Long resets after the whistle do nothing for a viewer.
Stabilize shaky phone footage and raise brightness slightly if clips from different games have visibly different exposure. Blowing out the shadows is worse than leaving it alone, because coaches still need to see the field.
Keep crowd audio, because it carries the sense of scale. When music is on, duck the track under the whistle and the announcer so the words stay legible. Most editors have an automatic ducking setting, and it is worth turning on.
Use hard cuts by default. A transition on every play makes the film feel amateur and eats time that belongs to football. A short fade at the beginning and end is enough.
6. Add Context Without Overloading the Film
Text should tell a coach who is who, and then get out of the way. A lower-third with the player’s name and position during the first play saves the viewer from guessing, and a corner label that stays visible through each clip solves the same problem cheaply.
Your player card can carry the measurable details: position, height, weight, class year, and one or two real statistics from the season. Add a team name or logo so the context is obvious.
Anything more turns the film into an advertisement. No stat graphics counting down, no animated confetti, no quoted hype. If a viewer has to wait through a graphic to see the next play, they may not wait.
7. Export and Review the Highlight Film
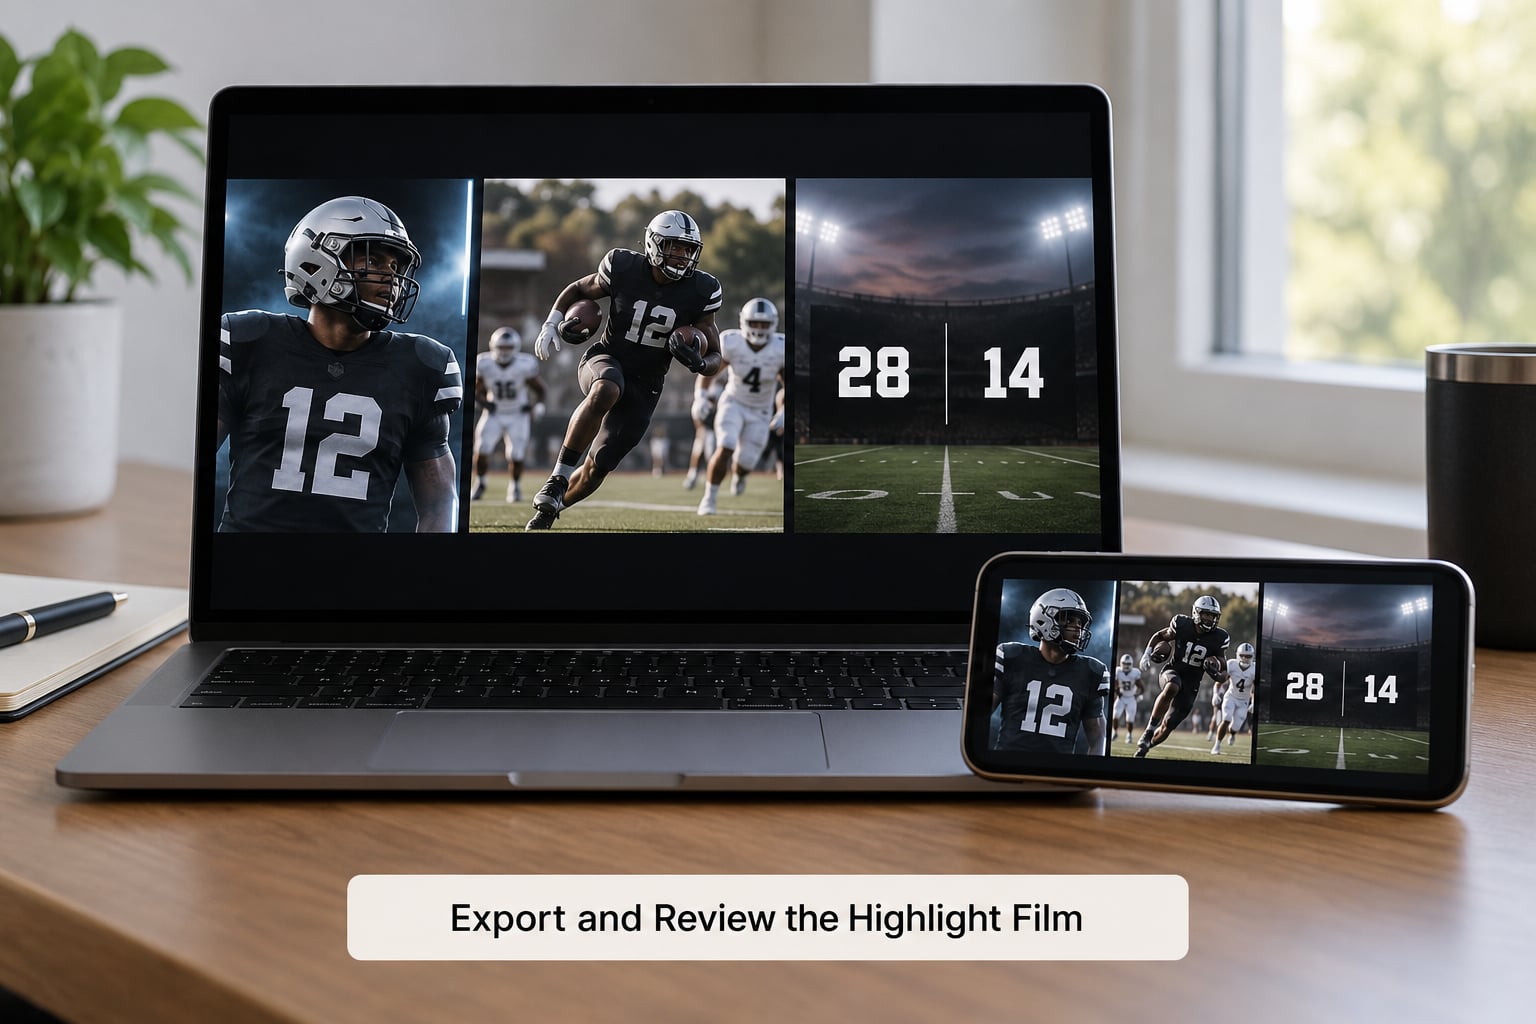
Export at 1080p, or 1920 by 1080 for horizontal and 1080 by 1920 for vertical. Use an MP4 container with H.264 video, which plays everywhere without a conversion step. High bitrate is not the same as high quality, so match the export preset your app offers for the destination rather than maxing out a slider.
Before you share anything, watch the exported file on a second device. Phone screens hide a lot, and a film that looks fine in the editor can show you a misplaced label or a dropped frame once it is compressed.
Then check the privacy setting. On YouTube, set the film to unlisted rather than public, which keeps it out of search while still playing for anyone with the link. On Hudl, use the playlist or profile visibility controls that match who you are contacting. Never post a recruiting target’s film publicly without asking first.
Send it with a short note: name, position, class year, school, and one line about what the film shows. Coaches sort dozens of these, and a two-sentence message gets opened more often than a bare link.
Common Mistakes and Quick Fixes
Almost every weak film I have watched fails on the same handful of things, and each one has a straightforward correction.
| Mistake | Why it hurts | Quick fix |
|---|---|---|
| Plays left too long | Coaches are past the interesting moment before the play develops | Cut from the snap to the end of the tackle, no resets |
| Clips in chronological order | The film opens on a quiet first quarter | Open with your best play, build from there |
| Same play shown twice | Reads as padding and wastes the viewer’s patience | One appearance per play, pick the better angle |
| Hard to find the player | The viewer loses the subject in a crowded frame | Add a corner label, circle, or arrow before you share |
| Loud hype music with lyrics | Lyrics compete with the whistle and the announcer | Instrumental bed, low volume, ducked under speech |
| Muddy phone footage | Technique disappears in shadow and shake | Stabilize, lift brightness slightly, skip unusable clips |
| No player information | The viewer spends the first minute guessing who this is | Two-second card with name, position, school, class |
| Film ends mid-thought | An abrupt cut reads as an unfinished edit | Finish on a completed play, fade out over it |
One more habit matters more than any of these: cut the film the day after the game. The recurring advice from parents and coaches is consistent, because footage from three weeks ago rarely gets touched, and footage you cut while it is still fresh takes half the time.
Frequently Asked Questions
How long should a high school football highlight film be?
Three to four minutes per position is the working target coaches cite for a recruiting film, trimmed tight with the player marked on screen. A single-position reel can be about two minutes, and a team season recap can run eight to twelve because it is not being evaluated. If you are unsure, film slightly longer and trim on export rather than the other way around.
What is the best free app for editing football highlights?
CapCut on a phone and iMovie on a Mac or iPad are the easiest starting points for a first-timer. Both handle trimming, labels, arrows, and titles without a learning curve. DaVinci Resolve is free on desktop and gives you far more control if you want color and audio work. Pick one, learn the four buttons you actually need, and skip the rest.
How do I add music without a copyright claim on YouTube?
Use a track from a library that licenses for video, such as the royalty-free music built into YouTube Studio, CapCut, or Instagram, or a paid library like Epidemic Sound or Artlist. Avoid dropping in a popular song from a streaming playlist, since a track cleared for one platform can still be claimed on another. Check YouTube Studio’s copyright panel after upload.
Should the best plays come first or should I order them by game?
Best plays first. A coach decides quickly whether to keep watching, so the most impressive play belongs inside the first thirty seconds. Chronological order puts an uneventful opening quarter in front of the film and makes a good player look inconsistent. Build outward from the strongest play instead.
How do I share the film with coaches without making it public?
Upload it as unlisted or private rather than public. On YouTube, an unlisted video plays for anyone with the link but stays out of search results. On Hudl, use the visibility settings on your profile or playlist so only the coaches you emailed can see it. Send the link with a short note listing name, position, class year, and school.
Conclusion
To make a high school football highlight film that actually gets watched, start with three decisions: name the audience, set a target length, and pick the aspect ratio. Then organize the footage by season and opponent so the next step is fast.
Choose the clips that prove something rather than the ones that merely look good, and lead with the best one. Trim the dead space, mark your player so nobody loses them in a crowded frame, and export at 1080p for the platform you are sending to.
Most of the work happens in the first pass, before you open any editing software. Get that pass done the day after the game, keep one project file as a template, and reuse it every week. The first film takes an evening. The ones after that take an hour, and the coach sees a player rather than a pile of footage.