Most shaky stadium clips are not caused by a bad camera. They come from a phone held at arm’s length by a person who is standing on a sloped concrete deck, surrounded by people shifting their weight every time something happens on the field.
To record stadium video without shaky footage: lock your stance, hold the device with two hands and your elbows pinned against your ribs, pan by turning your waist rather than swinging your arms, brace the camera against a rail or seat back, and use a fast shutter speed so any remaining movement reads as intentional motion instead of blur.
That takes about ten minutes of setup before the crowd settles. Here is the full setup-to-clip workflow, plus what to do when you have no support at all.
Table of Contents
- What You Need Before You Record Stadium Video Without Shaky Footage
- Step-by-Step
- 1. Choose the Right Camera Setup for the Shot
- 2. Check Stadium Filming Rules Before You Set Anything Up
- 3. Stabilize the Phone or Camera With Your Body
- 4. Brace Against a Fixed Surface
- 5. Frame and Focus Before the Action Starts
- 6. Move Smoothly While You Record a Moving Play
- 7. Record Test Footage and Back It Up
- Common Mistakes and How to Fix Them
- Frequently Asked Questions
- What is the easiest way to stabilize stadium video on a phone?
- Are tripods and monopods allowed inside football stadiums?
- How can I reduce shake while recording a moving game?
- What should I use to record stadium video in low light?
- How do I prevent focus hunting and exposure changes during a play?
- Can I record crowd noise and player audio clearly with my phone?
- Conclusion: Start With a Stable Setup
What You Need Before You Record Stadium Video Without Shaky Footage
You can get a usable game-day clip with nothing but the phone in your pocket. Everything below that line is a problem solver for a specific shot, not a requirement.
The device. A recent phone camera handles shake better than most people expect, mostly because the software crops and smooths the frame. A mirrorless or compact camera gives you control over shutter speed, which matters more at night than any stabilizer does.
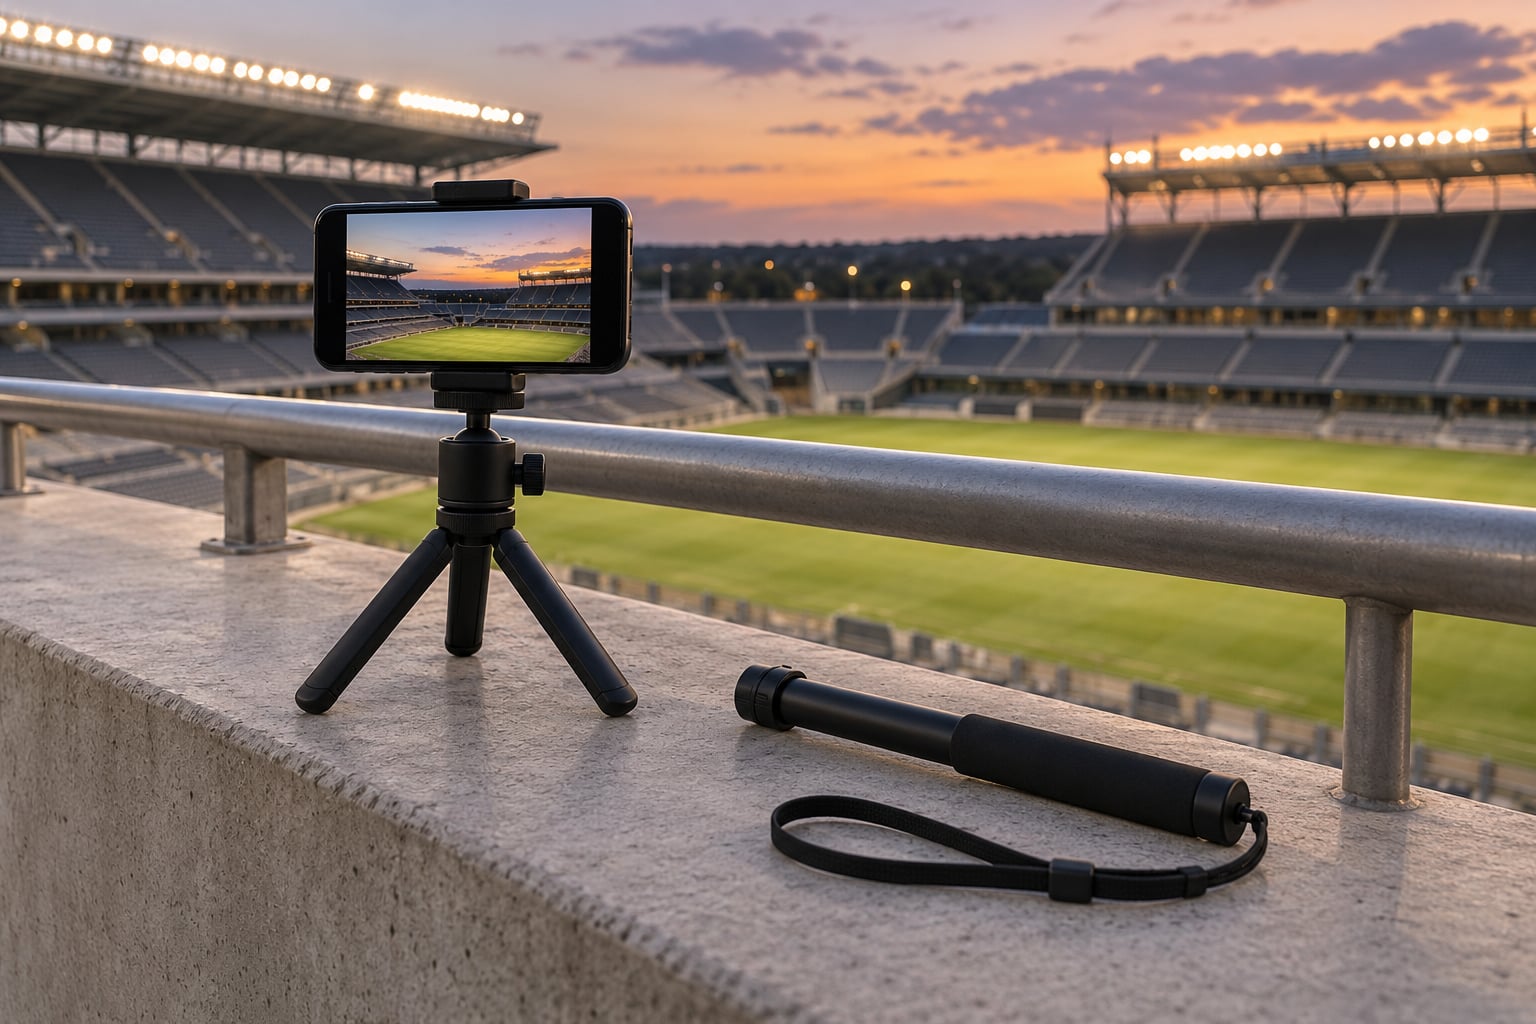
Something to hold it with. The four options behave very differently in a stadium. Handheld means your arms absorb every step and every bump from the row behind. A tripod locks the camera completely but takes 20 to 30 seconds to deploy, and stadium rules may not allow one in the seating bowl. A monopod gives you one fixed contact point and still lets you pan, which is what you want for a scoring drive. A three-axis gimbal smooths movement while you walk, but it needs charging, a balance check before every use, and it is the easiest option to wave through the entrance line.
Power and storage. A three-hour game in 4K eats through a phone’s storage and battery fast. Clear space before you leave, bring a power bank, and lower the resolution to 1080p if you plan to record the whole game rather than a few short clips. Check your venue’s re-entry rules before you step through the gate.
Audio. A phone’s built-in microphone picks up crowd roar and wind equally well, which flattens both. A small wired or wireless lavalier clipped under a collar stays out of the wind and stays close to your mouth for commentary. Record commentary separately if all you really want is the stadium sound.
Comfort items. Every extra thing you carry is another thing jostling against your body. Keep it all in a zipped pocket or a small pouch at your back so a neighbor shifting does not swing the camera.
A support that fits the shot:
| Setup | Steadiness | Deploy speed | Best for |
|---|---|---|---|
| Handheld, two hands | Fair | Instant | Crowd reactions and close-ups |
| Phone grip with built-in folding legs | Good | About 5 seconds | Wide shots of a set play from one spot |
| Full tripod | Rock solid | 20 to 30 seconds | Walkouts, scoreboard shots, tip-off |
| Monopod | Good | About 10 seconds | Panning with a play across the field |
| Three-axis gimbal | Very good while walking | 30 to 60 seconds plus charging | Concourse walk-throughs, moving vertical clips |
Step-by-Step
1. Choose the Right Camera Setup for the Shot
Decide what you are filming before you pick the support. A wide shot of the whole formation wants a locked tripod or a braced grip. A horizontal pan following a runner wants a monopod or a firm two-handed hold. A walk from the parking lot to the section wants a gimbal, if you have one charged.
Match the gear to the shot and the shot to the shot you will actually keep. Most fans over-invest in the tool and under-invest in where they plant their feet.
For a phone, 1080p at 60 frames per second is the sweet spot for a highlight clip: high enough that you can slow a section down for social without it looking like a flipbook, and light enough that your phone will not overheat in your pocket during the second half. If your goal is to fix shake later in editing, record 4K so you have pixels to crop into, then stabilize the crop.
2. Check Stadium Filming Rules Before You Set Anything Up
Verify the venue’s policy before you arrive, because a confiscated tripod or a stop at the gate ruins the plan faster than any amount of technique. Most venues restrict the size and type of support allowed in the seating bowl, and some require that your view of the field not be blocked for people behind you.
Common rules to check: tripods and monopods, gimbals, selfie sticks, detachable lenses, flash, and audio recording of the event itself. Most venues also mark boundaries near the field-level seating or the tunnel where filming tightens up.
When in doubt, ask an usher before you deploy anything. Usher answers vary by section, and the person standing in front of you is the one who will act on it. If a support is not allowed, the elbow and rail techniques below do the same job with no gear at all.
3. Stabilize the Phone or Camera With Your Body
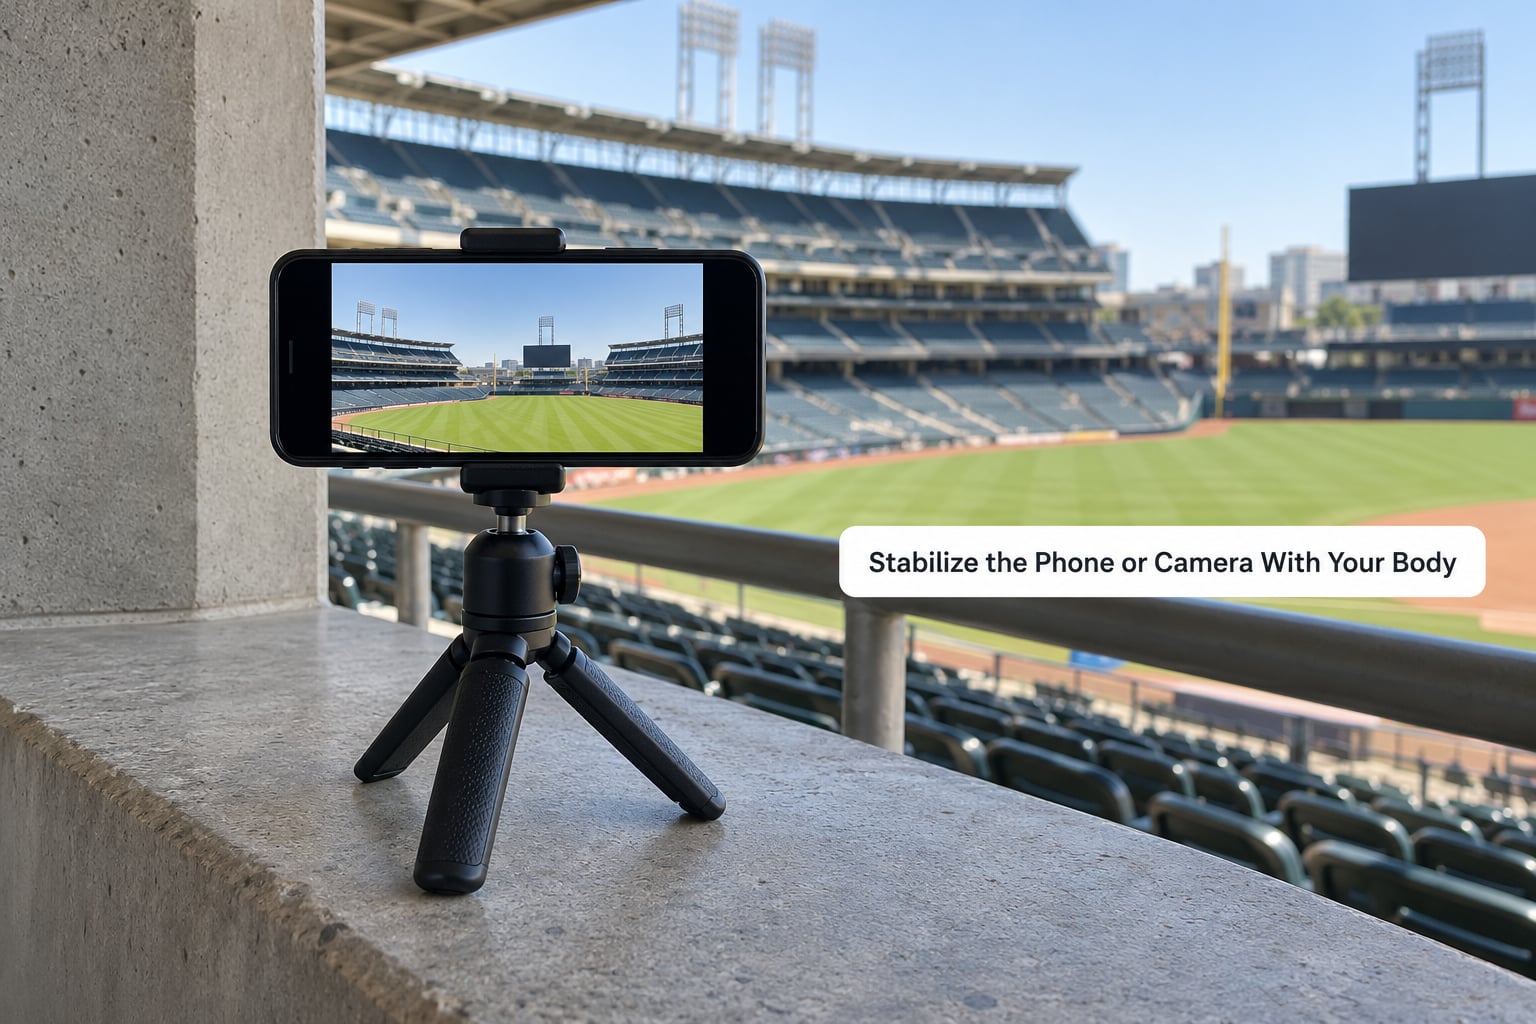
The two-handed hold is the whole foundation. Wrap your fingers around the body of the device, keep both thumbs on the back button or on the frame, and pinch your elbows against your ribs so your arms form a closed triangle instead of two free-hanging levers.
Plant your feet shoulder-width apart, one foot slightly forward, and put most of your weight on the back foot. A staggered stance gives you a wider base than standing square, and it stops the row behind from tipping you forward when the crowd surges.
Breathe out slowly before you start and keep breathing shallowly through your nose. Hold your breath and your chest rises, your shoulders rise, and the camera moves with all of it. Most “I was standing still” shake is really a breath.
Then make the device smaller. Whether it is a phone or a camera, the shake the lens sees is smaller if the device sits closer to your center of mass. Tuck it into the crook of your elbow, cradle it there like a bag of chips, and shoot from there.
4. Brace Against a Fixed Surface
The single biggest improvement most fans can make is finding a surface that does not move. A handrail, a concrete wall, a cup-holder arm, the back of the seat in front of you, or a wide ledge in the concourse all work.
Rest your forearms or elbows on the brace, not the camera itself. Pressing the lens or the screen flat against a rail blocks buttons and adds a wobble of its own. Leaning your upper body into the rail takes your weight off your feet, which kills the micro-shake that survives every other trick.
Two safety rules. Do not lean over a railing to get an angle, especially in an upper deck or a steep section, and do not set a tripod where someone walks in the dark. If you cannot hold the position comfortably for a full quarter, the position is wrong.
A camera strap adds a third point of contact for free. Sling it around your neck, push the camera forward until the strap pulls taut, and move your hands instead of your torso. It feels awkward the first time and then becomes invisible, which is the point.
5. Frame and Focus Before the Action Starts
Every touch you make mid-play is a small camera movement that lands in the finished clip. Lock the settings once and leave the device alone.
Lock exposure and focus with a long press on the screen to bring up AE or AF lock on iPhone, or the equivalent focus-and-exposure lock on Android. Otherwise the camera keeps hunting as players in red cross in front of players in white, and each adjustment is a visible brightness jump in the video.
Keep the horizon level by holding your elbows level rather than dropping the camera toward the field, leave extra space on the side the play is heading, and frame slightly wider than the action needs so you can crop in editing without cutting off a foot.
For a night game, the settings that matter:
| Condition | Frame rate | Shutter target | Resolution | Stabilization |
|---|---|---|---|---|
| Afternoon or sunny start | 60 fps | 1/120s or faster | 4K if storage allows | On, high or enhanced |
| Night game under lights | 30 or 60 fps | 1/120s, let ISO rise | 1080p to limit noise | On, high or enhanced |
| Mixed light, concourse to field | 60 fps | 1/120s | 1080p | On, standard |
| Camera on a tripod or rail | 30 or 60 fps | 1/120s | Your choice | Turn stabilization off |
The shutter rule behind that table is simple. Keep your shutter at least twice as fast as your frame rate, so 60 fps means 1/120s or faster. Slow shutter plus fast movement is motion blur, and motion blur looks like camera shake even when the camera was perfectly still. If a night clip comes out noisy and soft, the cause is almost always a shutter that is too slow, not a stabilizer that is too weak.
Turn stabilization off when the camera is mounted on something solid. Gimbal-style digital stabilization looks for movement that is not there, hunts for it, and adds a slow wobble to an otherwise locked shot.
6. Move Smoothly While You Record a Moving Play
Panning is where game footage falls apart. Swinging your arms from the shoulder produces a fast start, a jerky middle, and a snap at the end, and the motion blur at each end looks like a glitch.
Turn your waist instead. Point your body roughly 30 to 45 degrees away from where the play starts, keep your arms locked in the cradle position, and rotate from your hips and core so the whole upper body moves as one unit. Start the move before the ball moves, follow through after the play ends, and stop moving once you have it.
If you are on your feet and moving, shorten your stride, bend your knees slightly, and keep both hands on the device. Walking with a long flat-footed stride puts a bounce in the frame on every step. Shorter, softer steps read as a glide.
While walking, shoot wider than feels right and let the edit tighten it. Zooming while moving is the fastest way to make a clip unusable, because the framing changes and the shake changes at the same time. Record the play at one focal length and pick your crop later.
And if you miss the moment, do not panic-swing back. Hold the shot for three more seconds. The clip you end up posting is usually the one after the obvious moment, because the obvious moment already got filmed by everyone else around you.
7. Record Test Footage and Back It Up
Before the teams warm up, record 20 seconds at the seat you actually plan to use. Watch it back with headphones and check four things: is the horizon level, is the picture bright enough for the far sideline, is focus holding or hunting, and is there any audible rattle or handling noise.
If the frame is too dark, fix it before the game by moving to a lower row or by finding an angle away from the sun. You cannot fix bad light in editing.
Then confirm your backup path. If your phone is set to upload the clip as you shoot, verify it has signal in your section before kickoff, because stadium concrete and crowds eat cellular coverage in the lower bowl. If you are moving the file by hand to a laptop or a second device, do that transfer right after the clip, not forty minutes later when you cannot find the cable.
Close the app before you put the phone away. Leaving a camera app running in the background during the third quarter is the fastest way to arrive at halftime with a warm phone and a full memory card.
Common Mistakes and How to Fix Them
Most shake problems repeat, which means they have a matching fix. Match the symptom first, then change one thing.
| Symptom | What is happening | Fix |
|---|---|---|
| Slow swing, whole frame drifts | Arms are the pivot point | Elbows to ribs, turn from the waist, follow through |
| Fast jitter on every frame | Micro-shake from grip tension | Relax hands, breathe out, brace elbows on a rail or seat back |
| Blur but no visible shake | Shutter too slow for the movement | 1/120s or faster, accept a higher ISO at night |
| Soft drifting horizon on a locked shot | Stabilization hunting on a stable mount | Turn stabilization off when tripod-mounted or braced |
| Picture hunts as players cross | Autofocus re-locking constantly | Long-press to lock focus and exposure before the play |
| Sky bends and edges warp in the edit | Post stabilization pushed too hard | Use less stabilization, zoom the crop back out slightly, re-shoot next time |
| Audio thin and full of rumble | Phone mic against wind, handling noise | Lavalier mic, or record the stadium sound on its own |
| Phone dies or overheats mid-game | 4K plus stabilization on a long recording | 1080p for long stretches, short clips for the best moments |
Do not stabilize harder than the footage allows. Crop-and-stabilize in your editor, or use a gyro-based tool that reads the camera’s motion data, and pull the intensity back until edges stop bending. Heavy stabilization creates rubber-banding and eats detail, which is worse than a little shake. Treat editing stabilization as a backstop for micro-shake, not a rescue for a handheld whip pan.
Watch your neighbors. Film wide and check the frame edges for people in the foreground. If you are recording a reaction shot, ask first. Most fans are fine with it and a few are not, and a clip that starts with a conversation goes nowhere.
One last thing: record the decisive moment as a single unbroken take. A clip with one moment that lands beats a five-part montage built from fragments you rushed between.
Frequently Asked Questions
What is the easiest way to stabilize stadium video on a phone?
Use two hands, pinch your elbows against your ribs, and plant your feet shoulder-width apart before you hit record. Then brace your forearms on the seat back or a handrail so your weight, not your arms, holds the camera. Lock focus and exposure with a long press on the screen so the camera stops hunting mid-play.
Are tripods and monopods allowed inside football stadiums?
It depends entirely on the venue. Many arenas restrict the size and type of support allowed in the seating bowl, and a few ban anything with legs in the stands but permit small grips. Check the venue page or call the guest services line before the game, then confirm with an usher in your section once you are seated.
How can I reduce shake while recording a moving game?
Pan from your waist, not your shoulders. Face about 30 to 45 degrees away from where the play starts, keep your arms locked in the cradle position, and rotate through your hips so the whole upper body moves as one piece. Start the move early, follow through past the end of the play, and avoid zooming while you pan.
What should I use to record stadium video in low light?
Keep a fast shutter, around 1/120s, and let the camera raise its sensitivity instead of slowing the shutter down. Record at 30 or 60 frames per second and shoot 1080p if noise becomes an issue. Turn digital stabilization to its high or enhanced setting, and pick a lower row or an angle where the lights hit the field evenly.
How do I prevent focus hunting and exposure changes during a play?
Lock focus and exposure before the action starts. On most phones, press and hold the screen until AE or AF lock appears, then leave the camera alone for the rest of the sequence. Every touch you make mid-play moves the lens and every refocus is a visible brightness or sharpness jump in the finished clip.
Can I record crowd noise and player audio clearly with my phone?
The crowd will record fine, because a phone microphone is loud. Wind and handling noise are the problem, and both come from holding the device by hand. Clip a small wired or wireless lavalier under your collar for commentary, and record the stadium ambience separately on the phone so you can mix levels later.
Conclusion: Start With a Stable Setup
Start with four things: check what the venue allows, pick the support that matches the shot you want, find a brace point that lets you hold it for a full quarter, and record a 20-second test before the crowd arrives.
Technique handles the rest. Elbows in, feet planted, waist-led pans, a 1/120s shutter, and settings locked before the whistle go a long way on a camera that never leaves your pocket. If you want a deeper look at gameday planning beyond the camera, our game-day guides cover the rest of the Saturday.